Planting Potatoes In Raised Beds
1. Into the Trenches
Dig a trench 6″ deep, into good, rich garden garden soil. Do not add manure or sand as too much of either is apt to cause scabby spuds.

2. Totally Spaced Out
Space the trenches 2′ to 3′ feet apart. The closer together the plants are, the smaller the potatoes will be. If you are after the new, baby spuds, go closer at 1′ to 1.5′ spacing instead.

3. Bring ’Em On
Choose potatoes with 2 or 3 eyes (sprouts) on them. The ones that have not chitted, or sprouted, will take a little bit longer but will still do just fine. When possible, purchase the potatoes 4 to 6 weeks early, place in a light, warm place to produce sprouts.

4. Pop ‘Em In
Place your potatoes into the trenches spaced 12″ apart. Once again, the closer you place them, the smaller the potatoes will be. If you are only after the new, baby potatoes, space them 6″ to 8″ apart instead of 12″.

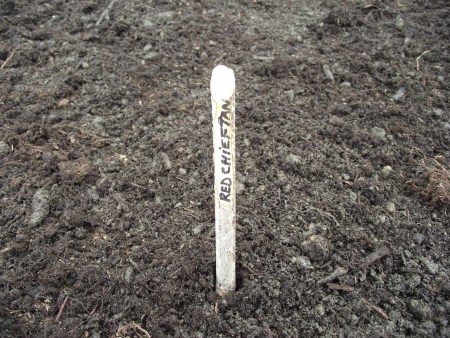
5. Head for Cover
Cover the potatoes, so that they are 4″ to 6″ deep. Label them with some form of tag, even if you plant only one variety. After planting the entire potager, you will likely be overwhelmed trying to remember the type of pea, carrot, marigold, cucumber…that you planted. Also, if you plant several varieties, it may be challenging to remember which ones were the Russian Blues, the Red Chieftan salad spuds, or the beautiful French Fingerlings. If you are really diligent, you can get around tagging by making a beautiful garden map with all the varieties listed on there instead. Garden plans are things of beauty to be kept for years, both as art, and, as crop rotation reminders.
6. Reminder to Self
I often plant several varieties of anything and everything I grow. Taste testing being the most enjoyable part, but also want to see how they grow in my corner of the world. This year, I have 6 types of spuds on the go, therefore, I place a small reminder on the side or back of each plant label so I know whether they are early, mid or late season spuds.

7. Reverse Order
When first planted, my furrows and hills are opposite of what they will be later in the season. In the furrows are the spuds, planted 6 inches deep. As the foliage grows 6″ to 8″ high, I pull the soil from the mounds on the sides, onto the foliage. It is fine to cover some leaves, leaving about 2 inches of foliage showing.

8. Water and Watch ‘Em Grow
That’s it. Water once or twice a week, especially during flowering. After flowering, the vines begin to brown and wither, indicating that the potatoes are done. Lift and allow to develop a good skin before storing. I start to enjoy my potatoes as babies in the summer and keep eating them throughout the summer in salads, boiled, bbq’d…Yum.


Comments
Post a Comment